Sculpting Graceful Silhouettes with Ease: Mastering the Art of Contouring
Sculpting Graceful Silhouettes with Ease: Mastering the Art of Contouring
Introduction to Sculpting Graceful Silhouettes
In the world of beauty and fashion, the technique of sculpting graceful silhouettes has gained immense popularity. Whether you are preparing for a special event, looking to enhance your daily makeup routine, or aiming to achieve that Instagram-worthy look, mastering the art of contouring can help you achieve a stunning appearance. This article will delve deeply into the techniques, tools, and tips for sculpting graceful silhouettes with ease, enabling you to enhance your natural beauty.
Understanding the Basics of Contouring
Before delving into the techniques of sculpting graceful silhouettes, it's essential to understand the fundamental principles of contouring. Contouring is the art of using makeup to define and shape your facial features by creating shadows and highlights. By strategically applying darker shades to certain areas of your face and lighter shades to others, you can accentuate your cheekbones, slim your nose, and create an overall balanced look.
The Importance of Face Shapes
One of the first steps in contouring is understanding your face shape. Different face shapes require different techniques for sculpting graceful silhouettes. Here’s a quick overview of common face shapes and suggested contouring tactics:
| Face Shape | Contouring Tips |
| Oval | Focus on enhancing cheekbones and applying minimal contouring on the forehead and chin. |
| Round | Contour the sides of the face and jawline to create the illusion of length. |
| Square | Soften the jawline with contouring and add dimension to the forehead. |
| Heart | Emphasize the forehead and contour the chin to balance the face. |
| Long | Contour the forehead and chin to minimize length, while enhancing cheekbones. |
Essential Tools for Sculpting Silhouettes
To successfully sculpt graceful silhouettes, having the right tools is crucial. Here is a rundown of essential tools you should have in your makeup kit:
- Contour and Highlight Sticks: Cream or stick formulations are easy to apply and blend.
- Makeup Brushes: A variety of brushes for application, such as angled brushes for precision contouring.
- Beauty Blender: Perfect for blending products seamlessly into the skin.
- Setting Powder: Helps to lock in your contour and highlight for a long-lasting finish.
- Bronzer: A versatile product that can be used for contouring as well.
Step-by-Step Guide to Sculpting Graceful Silhouettes
Now that you have a basic understanding of contouring and the necessary tools, let’s proceed with a step-by-step guide to sculpting graceful silhouettes.
Step 1: Prep Your Skin
Start with a clean, moisturized face. Applying a primer can create a smooth base for your makeup, helping it last longer throughout the day.
Step 2: Identify Contouring Areas
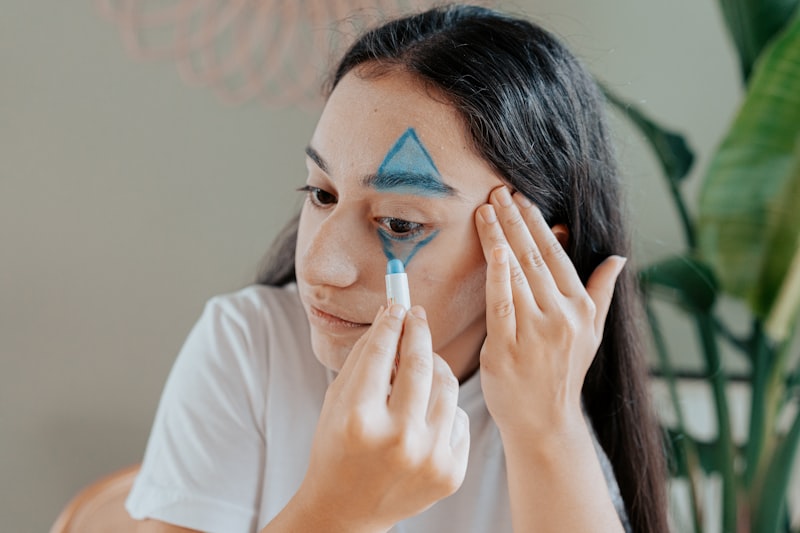
Using a contour stick that is 2-3 shades darker than your skin tone, apply it to specific areas: the sides of your nose, under your cheekbones, along your jawline, and the edges of your forehead. Use a highlighting stick that is 2-3 shades lighter on the bridge of your nose, the center of your forehead, and your chin to bring those areas forward.
Step 3: Blend, Blend, Blend!
This is arguably the most important step in sculpting graceful silhouettes. Use a beauty blender or a brush to blend in the contour and highlight seamlessly, avoiding harsh lines. Remember, the goal is to create shadows and light rather than visible makeup lines.
Step 4: Set Your Makeup
Once you are satisfied with the blend, use a translucent setting powder to ensure your work stays in place. Lightly dust the powder over your face, especially on the highlighted areas, to enhance the effects.
Step 5: Finishing Touches
Add your favorite blush to the apples of your cheeks and finish with a setting spray to lock everything in.
Common Mistakes to Avoid When Contouring
Even seasoned makeup enthusiasts can make mistakes. Here are some common errors to avoid when sculpting graceful silhouettes:
- Using the Wrong Shades: Choosing shades that are too dark or too light can lead to unrealistic results.
- Skipping the Blending: Blending is essential; harsh lines can detract from your makeup.
- Over-applying Products: Less is often more. Start with small amounts and build up as necessary.
- Ignoring Face Shape: Tailoring your contouring technique to your face shape is vital for achieving the best results.
Advanced Techniques for Sculpting Graceful Silhouettes
Once you are comfortable with basic contouring, you can explore more advanced techniques. These may include:
- Baking: A technique involving applying a thick layer of translucent powder to set contour and highlight areas for a flawless finish.
- Reverse Contouring: Highlights are applied in a contouring pattern to enhance certain areas while creating an illuminated effect.
- Color Contouring: Using a variety of shades, including reds and greens, to correct and enhance features.
Conclusion: Sculpting Graceful Silhouettes
Sculpting graceful silhouettes with ease requires practice, skill, and the right tools. As you embark on your contouring journey, remember that every face is unique, and what works for one person might not work for another. Experiment with different techniques, products, and colors until you find what enhances your natural beauty the most. Always prioritize blending and appropriate shade selections, and don’t be afraid to ask for help or watch tutorials if you’re unsure. With these tips and tricks, you can master the art of contouring and create stunning looks that leave a lasting impression!
